QGIS Cloud makes it possible to edit geospatial data collaboratively directly from the web browser. This is especially useful when several users need to update the same dataset without installing or configuring a local QGIS project.
What is important to know
There are three key points to keep in mind when using multi-user editing in the QGIS Cloud web client.
-
not every user needs a QGIS Cloud Pro account. The project and its editable layers must be published from a Pro account, but other users only need a QGIS Cloud Free account. Once the Pro user shares the project and grants the appropriate permissions, Free users can access the web client and edit the shared data.
-
editing in the web client is limited to existing layers. Users can edit geometries and update or add attribute values, but they cannot create new layers from the web client.
-
the workflow is simple and can be tested directly in the browser. Below is a step-by-step guide showing how to share a project from a QGIS Cloud Pro account and how edit data from a QGIS Cloud (Free or Pro) account.
Step-by-step workflow
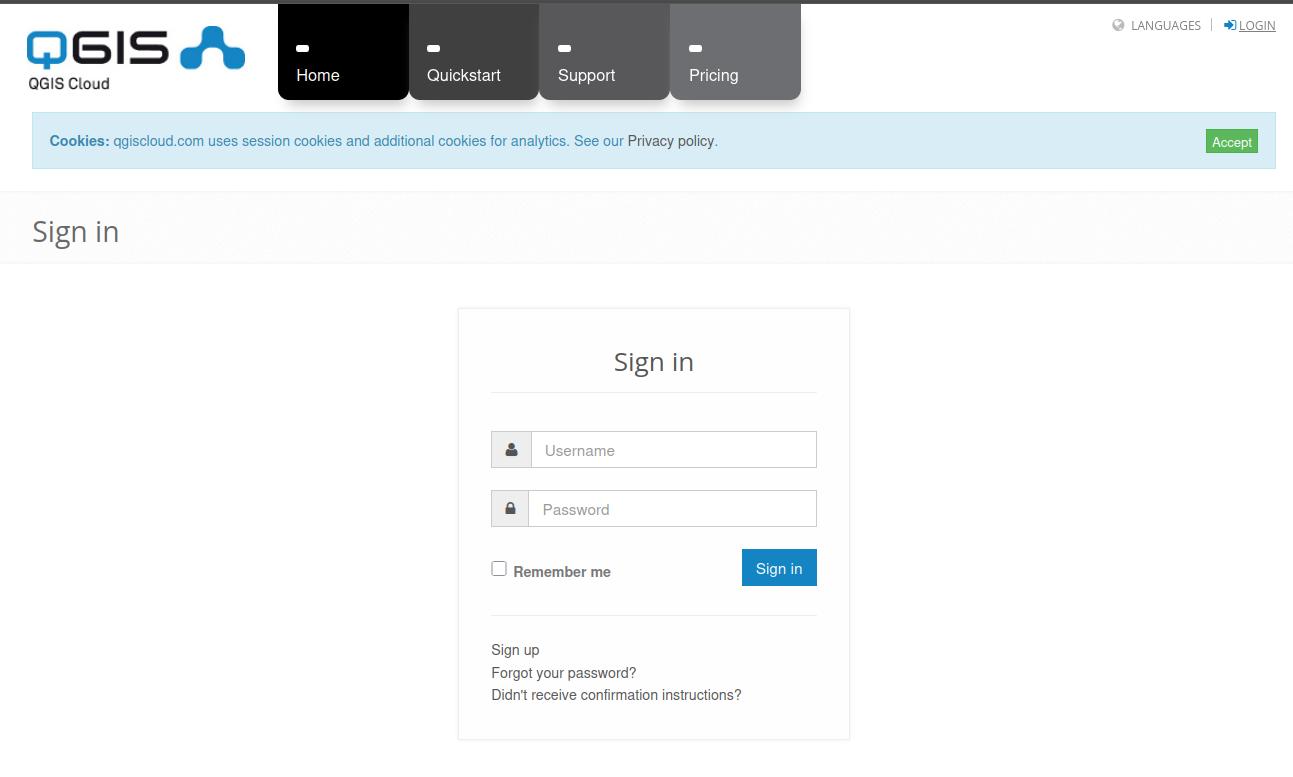
1. Log in to QGIS Cloud
Go to qgiscloud.com and log in with your QGIS Cloud account.
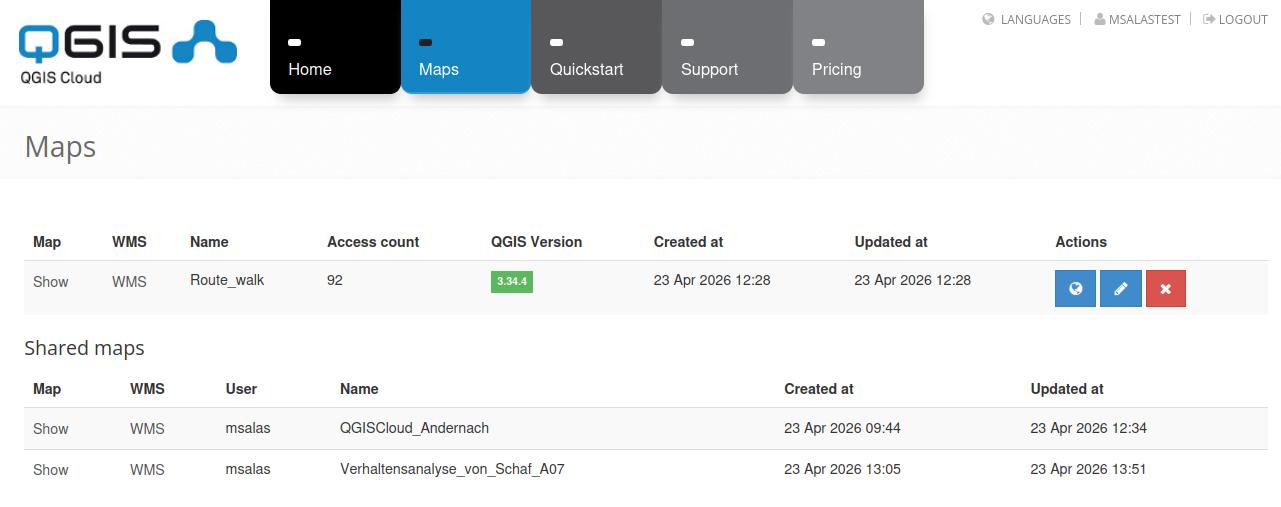
2. Open the maps overview
Click on Maps in the top navigation bar to see the maps available to your account.

3. Share a project
To allow other users to edit the project, permissions must be configured from the QGIS Cloud Pro account used to publish the map.
Scroll down to the Users section, add the desired user in the input field, and click “Add user”.
Finally, click “Update map” to apply the changes.
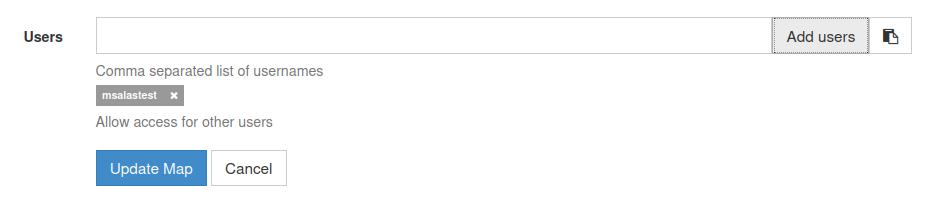
Once this is done, the selected users will be able to access the project and edit the shared project directly from the web client.
3. Open the shared project
If a Pro user has shared a project with you, it will appear in your list of available maps.
Click Show to open the shared project in the web client.
4. Start Editing from the Invited QGIS Clount Account
Once a project has been shared from a QGIS Cloud Pro account, invited users can access it from their own account—regardless of whether it is a Free or Pro account.
In the Maps section, shared projects appear under Shared maps. From there, users can open the project, clicking on ‘Show’ and start working with the available layers.
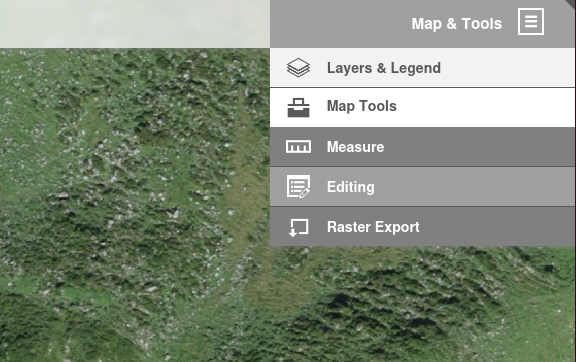
In the web client, go to:
Map Tools → Editing
The layers shared with editing permissions can now be edited directly in the browser.
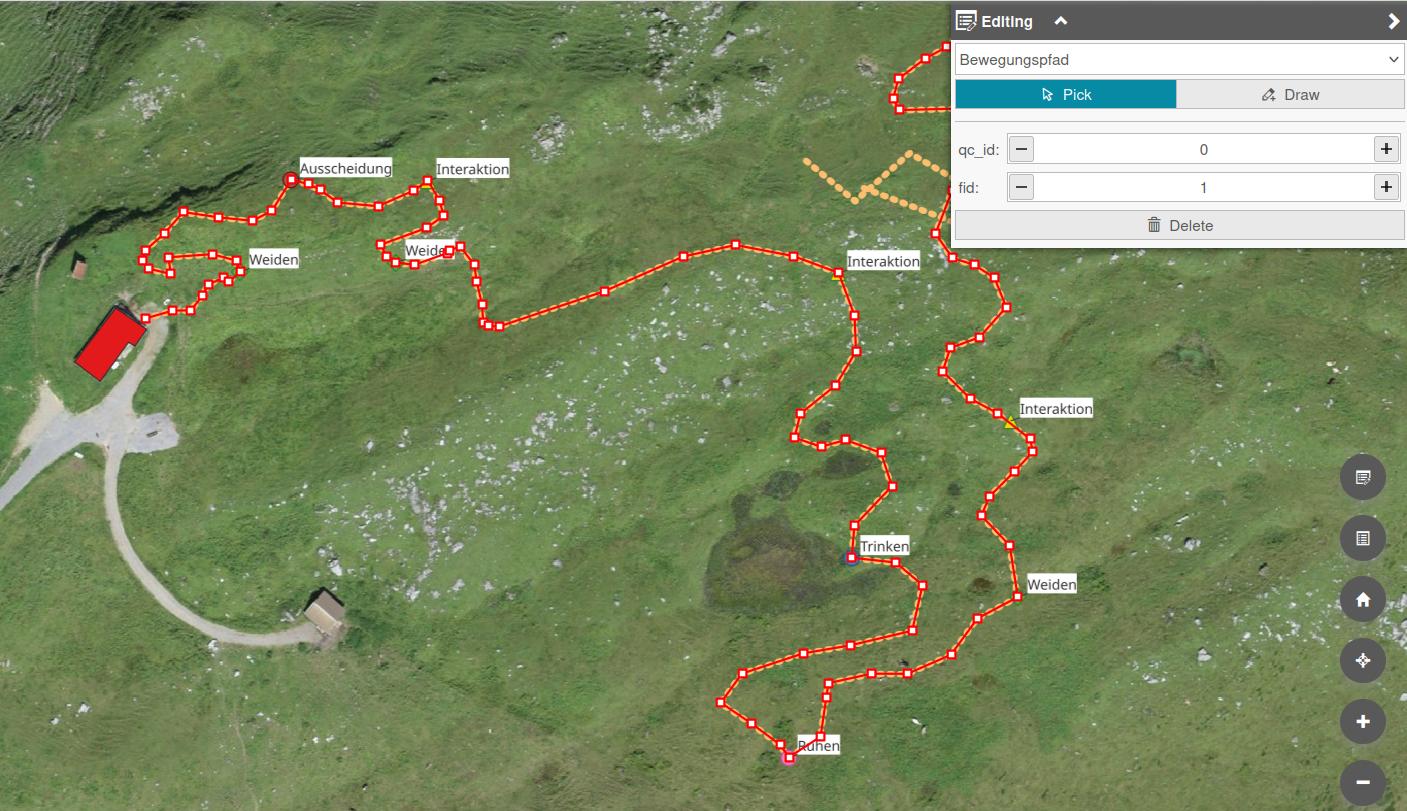
5. Edit geometries or attributes
You can now modify geometries and update attribute values for existing layers.
Remember: the web client does not allow users to create new layers. New layers must be created and published from QGIS Desktop.
6. Changes are saved automatically
There is no separate save button. Changes are saved directly and become visible to other users with access to the same project.
Practical Tip for Team Workflows
In some cases, teams may consider sharing a single QGIS Cloud account among multiple users, especially when working in small groups or in low-frequency editing scenarios.
For example, if seven people are collaborating on a project, it is technically possible for them to use a shared account instead of creating seven individual accounts.
However, this approach comes with important limitations:
-
It is not suitable for simultaneous editing
-
It can lead to conflicts or overwritten changes if multiple users work at the same time
-
It reduces transparency in tracking who made which edits
For these reasons, we do not recommend shared accounts for concurrent workflows.
That said, in well-organized setups—where users coordinate access and edit at different times—it can be a pragmatic solution for lightweight collaboration.
Try it yourself
We have prepared a demo project to test this workflow.
If you would like to try multi-user editing in QGIS Cloud, please contact us. We can provide access to a shared project so you can test the functionality directly from your browser.
Conclusion
Multi-user editing in QGIS Cloud provides a lightweight way to collaborate on geospatial data. A Pro account is required to publish and manage the editable project, but invited users can participate with a Free account.
This makes the workflow accessible for teams that need simple browser-based editing while keeping project management centralized in the Pro account.